Block Printing Basics
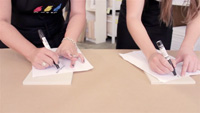
We invited printmaker Sharilyn Kuehnel and 24hrs Vancouver DIY columnist Julia Dilworth to Opus Downtown Vancouver to demonstrate the basics of block printing. Watch as Sharilyn teaches Julia how to transfer an image onto Safety-Kut Block, carve an image using the Speedball Lino Cutter and Bench Hook, and print on both Strathmore Creative Cards and
t-shirts with Gamblin Relief Inks. The versatility of printmaking makes this project perfect for home and for creating multiple prints. The blocks can also be used on fine art paper to create a print ready to be framed and enjoyed on the walls of your own home or to give as a gift this holiday season.
Experience the block printing process for yourself by watching Block Printing Basics above or read the full exclusive article below.
Get a behind the scenes look at our filming day by visiting Sharilyn’s blog,
Weekdays-From-Scratch.
Interested in the products used in Block Printing Basics?
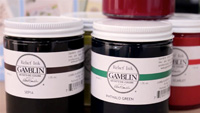
Gamblin Relief Ink
Safety-Kut Blocks
Speedball Lino Cutter and Bench Hook
Speedball Brayer
Speedball Barren
Chartpak Blender Marker
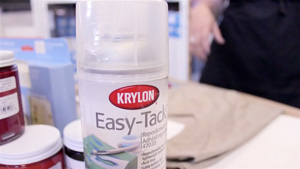
Easy Tack Repositionable Spray
Glass Palette
Scottie Plastic Palette Knife
Strathmore Creative Cards
Strathmore Stamping Cards
Opus Artboard
X-ACTO Knife
Gamblin Gamsol – Odourless Mineral Spirits
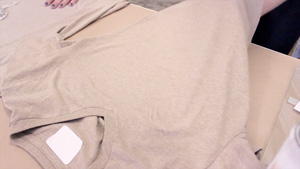
T-Shirt
Photocopy Paper
Block Printing Basics
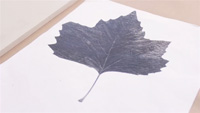
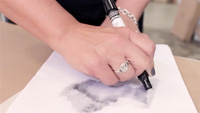
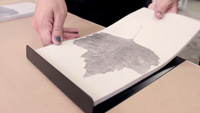
Photocopy Transfer
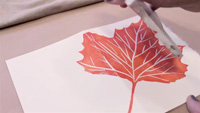
Print your image and photocopy it with a toner based copier. Place the photocopy face down on the Safety-Kut Block and align the image. Simply use the Chartpak Blender Marker to colour over and completely saturate the entire area of the image. The Chartpak Blender Marker contains xylene, a chemical that transfers the toner from the paper to the block. The xylene has a strong odour and should be used in a well-ventilated area.
Tip: For block printing instructions and materials that are suitable for the kids, read Sharilyn’s blog post Block Printing with the Kiddos.
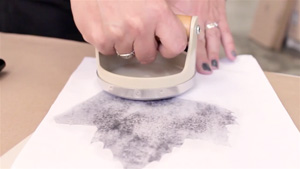
When the image is well saturated by the blender marker, you’ll be able to see it well through the back of the paper. Then, use the Speedball Barren to burnish the image into the block. Apply pressure to the image in circular motions to ensure the toner from the photocopy properly fuses with the block. Once burnished, carefully pull the paper away to reveal the transfer.
![]()
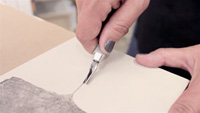
Cutting out the design into the Safety-Kut Block
Traditionally, linocutting is preformed on real linoleum blocks which can be challenging to carve. Safety-Kut Blocks are made from a material similar to erasers that allows for easy carving and cutting, and an overall safer experience. Before you begin carving the Safety-Kut Block, place the block on to the Speedball Bench Hook. This will prevent the block from moving during the carving process. The first rule when using the Speedball Lino Cutter is always carve away from your hand and body to prevent injuries. It is also a good idea to carve away from the image to ensure that it does not accidentally get wrecked.
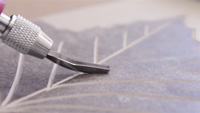
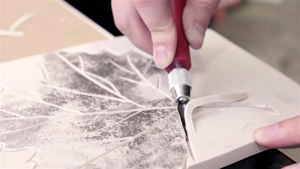
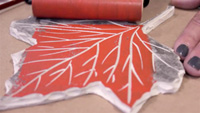
Begin carving the outside edges of the image with a intermediate to medium width blade, such as a #2 blade. This blade is great for getting the basic outlines of the image carved out, as well as the details (like the veins of the leaves). Be gentle when you begin carving as you can always cut deeper with another blade. Remember that the ink itself will get caught on all the high parts on the block and the carved out bits will be the negative of the image.
Once you have a the outline of your image carved out, switch to a larger sized blade to cut deeper into the channels around the image. A bigger blade will create more of a U shape and allows for bigger pieces of block to be taken out. You do not need to be as accurate in this stage as you have already went in with the smaller blade creating the details. Use a pair of scissors to follow the outline around the image and remove the rest of the unused block. Clean up the edges using a X-ACTO Knife to complete the block for printing.
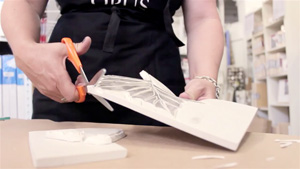
Tip: Don’t throw away the cutoffs of the Safety-Kut. Use them to create smaller blocks and stamps.
Preparing for Printing
To begin, the t-shirt should be pre-washed to get rid of any sizing agents left on from the manufacturer. To best prepare it for printing, spray a piece of Opus Artboard with Easy Tack Repositionable Spray and place it inside of the shirt. This provides a sturdy surface to print on while protecting the back of the shirt from any ink that might bleed through the fabric.
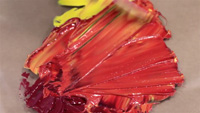
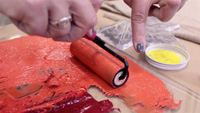
With the t-shirt prepared, roll out the Gamblin Relief Ink using a Speedball Hard Brayer. Gamblin Relief Inks are an oil-based ink, which means they have a heavy pigment load for lush and vibrant colours that do not need to be heat set (the process that keeps the image from washing off) to dry. Use the ink straight out of the jar or mix the colours to suit your preference. You must roll out your ink onto a glass palette prior to printing because rolling the ink will eliminate any air bubbles and ensures that the brayer is completely covered before it is rolled on to the block.
Tip: You will know the ink has been properly rolled onto the brayer if the final consistency of the ink resembles a stippled orange peel.
Test prints and Printing
It is always recommended to preform a test print prior to printing on your main surface. This can either be done on a scrap piece of paper or on Strathmore Stamping Cards and Strathmore Creative Cards. Roll the ink evenly on to the block until it is completed covered. Gently place the block on to the test surface and apply pressure using the Speedball Barren. Remove the block from the paper to reveal your print and determine whether you will need more ink before moving on to the t-shirt.
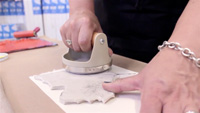
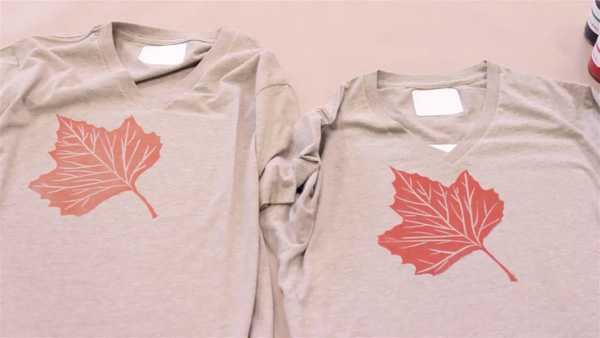
A general rule when printing on fabric is to use more ink than you would on paper while still maintaining that stippled orange peel consistency on the brayer/block. The instructions for printing on the t-shirt are the same as the test print. Note to pay extra attention to the edges of the image when applying pressure with the barren. Once even pressure has been applied, gently remove the block and reveal your print!
At this point you can either ink up the block again to create more prints on the t-shirt or get further use out of the design by creating original cards. Because oil-based inks take awhile to dry, you must let your image dry for a few days prior to handling.
Use your Scottie Plastic Palette Knife to scrape the excess ink left on your Glass Palette into a empty jar to store for use in future printing projects. Your block, palette, and brayer can then be cleaned using an Odourless Mineral Spirit like Gamblin Gamsol. •
For more DIY projects, follow Julia every Thursday in the Vancouver 24hrs newspaper and get more creative printmaking ideas on Sharilyn’s blog Weekdays-From-Scratch.