Heading Back into the Studio: Best Practices
September 3, 2021For many Artists, the end of Summer marks the transition of heading back into the studio. With it comes the excitement of refamiliarizing ourselves with the rhythms and focus of artmaking, and ultimately rejuvenates the creative spirit. It’s also a great time to get reacquainted with or learn about studio best practices that extend the longevity of your tools. Tapping into our Opus Retail, Warehouse and Office staff, they have shared several simple,yet effective tips to help you develop or maintain these best practices for years to come.

Paint Tube and Jar Maintenance
Remember to wipe any excess paint from the rim of the paint tube or jar. Essentially, the paint left on the rim can become like glue making the cap or lid near impossible to remove later on. In some cases, the force required to twist the cap off can actually tear a hole in your tube and also damage your cap. With paint build up, an ill fitting cap can lead to premature hardening of your paint which none of us wants.
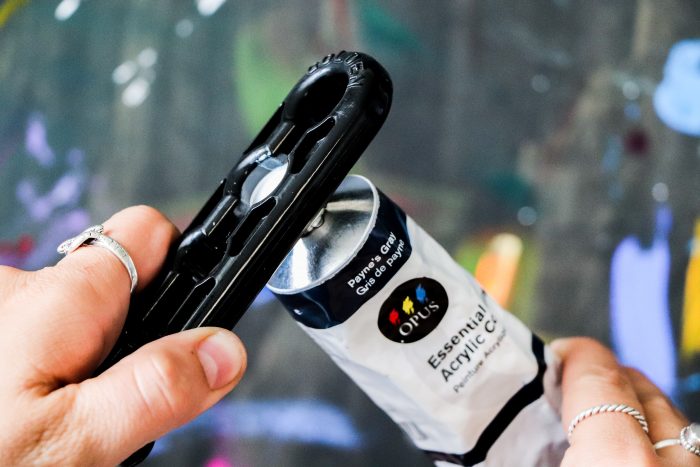
If your cap is stuck, try using a Golden Tube Opener to help turn the cap. Designed to work with most cap sizes, it acts like a wrench that doesn’t damage the cap and will help protect your hands (and potentially your teeth too!). This tool can also be helpful for those who may not have the hand or finger strength to twist a cap off.
Did you squeeze too much out of the tube? A good solution for this partially extruded paint is to hold it upright (the opening pointing upwards) and gently tap the side of the tube. This will help nudge some of the paint back into the tube, minimizing some wastage.

Acrylic Brush Care
Biggest best practice: Never leave your paint brushes soaking in water. Once bristles get bent, they generally do not come back to their original shape. On top of this, the handles can absorb water which can cause it to swell and may flake off the finish. Water can also damage the glue bond within the ferrules, causing the bristles to fall out. Running under the tap is not recommended either because of the paint solids that fall into the drain, can add strain to the municipal wastewater treatment system, damage septic systems, clog pipes and pollute groundwater and downstream water bodies.
Ideally, using a 3 bucket system to wash your brushes and allow the water to evaporate and leave behind the paint residue/sludge is best. 1. Fill three buckets about 2/3 full of water. 2. In the first bucket, wash the brush by submerging it in the water and scrub with a brush cleaner to release any paint that the brush has absorbed. Sometimes using a nail brush can help with this. 3. Move to the second bucket when most of the excess paint is squeezed out. Repeat the same technique from the first bucket. This should get a majority of the paint out of the brush. 4. Do a final rinse in the third bucket and wring the brush out to dry. 5. Once the paint at the bottom of the bucket dries completely, it can be thrown away in the trash as household waste or repurpose it as a medium additive for a thicker 3D aspect to your painting. You can help speed the drying time of waste paint by mixing it in with cat-litter or leaving the buckets in the sun.
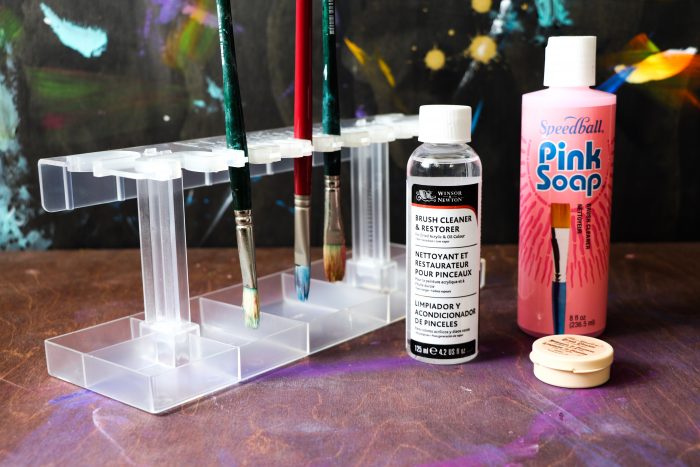
Additionally, using brush soaps and conditioners will help to clean and re-shape your brushes to prolong the life and enjoyment of them. Last but not least, let the brushes dry with the bristles facing down using something like the Masterson Sta-New Brush Holder. Drying upright traps moisture in the bristles which can seep towards the ferrule, damaging the glue and bristles.

Isolation Coats/Varnishing
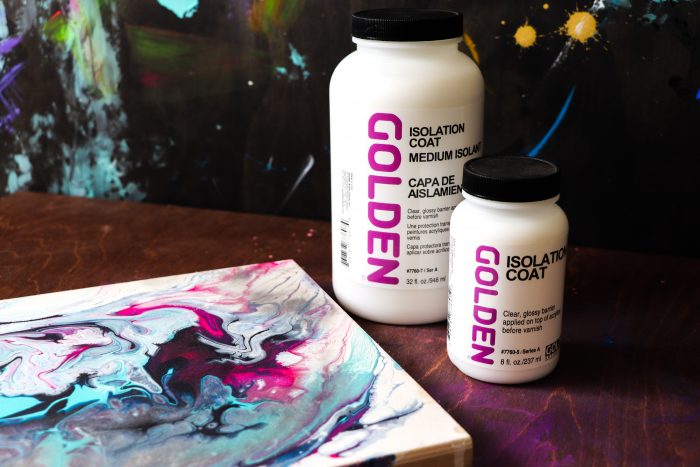
When it comes to finishing a painting, it is always recommended to first lay down an isolation coat prior to applying the varnish. The varnish or top-coat is the part of your painting that will be exposed to the elements and overtime can collect oil and dirt, eventually yellowing or clouding in many cases. The varnish can also get damaged should anyone dent, bump, or scratch your painting. As a result, most varnishes are removable with either solvent or an ammonia-based cleaning solution (for polymer varnishes). With that said, in most cases, what removes your varnish WILL remove your paint too. Using an isolation coat first allows for extra protection between your painting and the varnish so that when/if there is a need to remove the varnish, you have a higher chance of removing only the varnish + isolation coat and not the paint underneath.
Link to See how to apply isolation coat:
https://www.youtube.com/watch?v=PsZha8fZdZo

Storing Pens and Markers
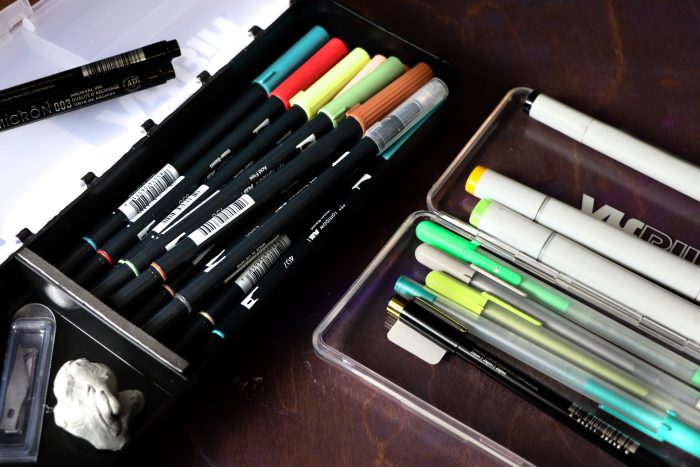
Did you know that pens and markers should be stored horizontally? Many of us tend to store them in cups, jars or buckets standing them upright. Consequently, gravity draws the ink downward and depending on the direction of the pen, can result in premature drying or possible oversaturation and leaking. Using specific storage solutions can help keep your pens and markers oriented properly at the same time giving organization and potentially making these portable tools.
