Exploring Composition and Colour with Conté à Paris
August 11, 2021Learn how to develop a well-balanced and visually interesting composition that focuses on line quality and colour.
Use Conté à Paris Colour Crayons to create variation in line and intensity and combine them with Pastel Pencils to create finer detail.
First let’s explore our materials…
Pastels are used to make drawings but through layering and blending they can be used to resemble a painting. Colour crayons, as referred to as Conté à Paris carrés, are harder than pastels or charcoals. This hardness creates crisp, tight lines rather than the more smudged look of pastel and charcoal. They are produced from a highly rigorous choice of pigments, clay and a binder. They are then baked after being extruded and dried.
Conté à Paris crayons can be held in many ways, which allows for a multitude of different angles. An example is using the “flat edge” of the crayon and varying the pressure (the greater the pressure on the crayon, the denser the colour that will be obtained). By holding the crayon upright or slightly slanted, fine and accurate lines can be created.
Pastel pencils are the perfect pencil companion to crayons because they are slightly softer and can offer more control when fine detail is required. Both materials blend easily.
Explore composition and colour using crayons and pastels by picking several ordinary objects to compose.
Step 1:
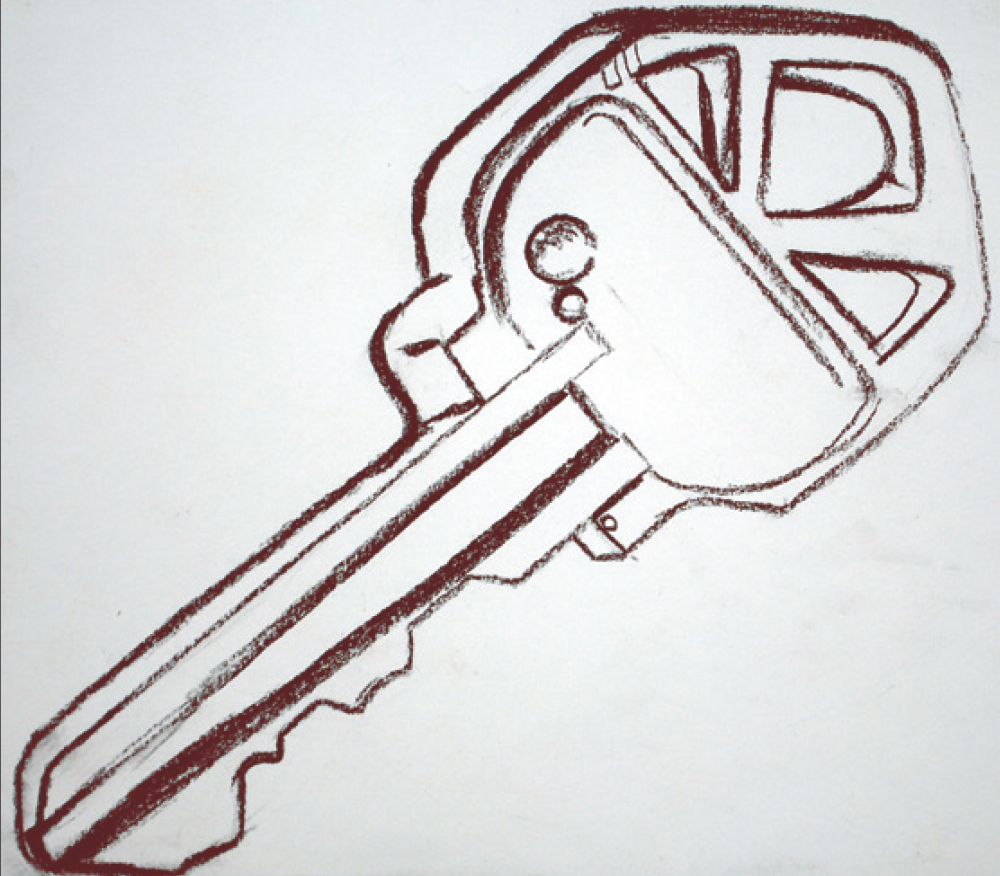
Using the corner edge of the colour crayon (choose a colour that the still life object is made of), start by creating one 8”x10” contour drawing of the object. Pay attention to contours as well as line quality i.e. thickness/thinness of line and the darkness/lightness of line. Using the corner of the crayon will provide thin lines while the sides can be used for thicker lines. Repeat for each object

Step 2:
Once line quality is explored and focused on, start to lay in values to render the object more realistically. A stump or tortillon can be used for blending tones. Complete the drawings to represent the local colour of each object as realistically as possible.
Step 3:
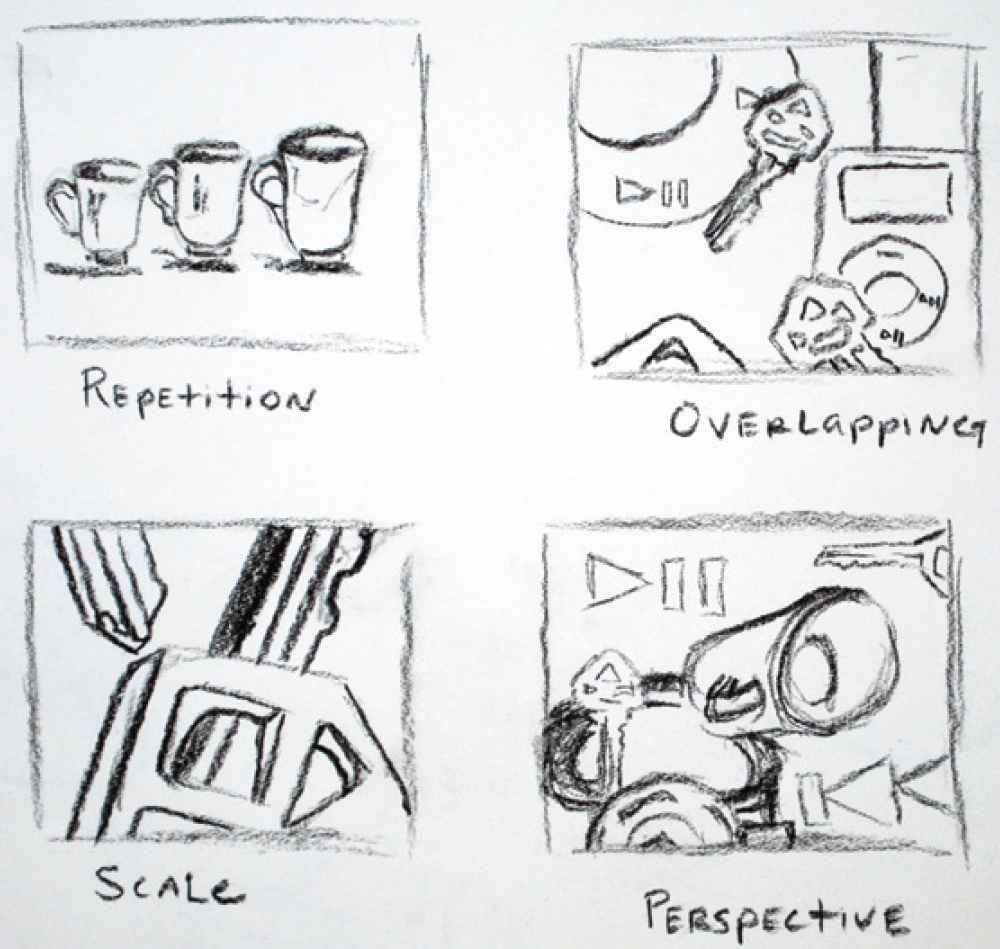
Work to create a larger drawing that combines the most interesting elements of the initial object drawings. After choosing which parts of the object drawings to combine and enlarge, create thumbnail images with a black pastel pencil to work out the composition and the relationship between objects.
The black pastel pencil is used for the thumbnail sketches so you can focus on the composition first and can address colour during the later stages of the project. Key elements to utilize include but are not limited to repetition of objects, overlapping, scale, perspective and movement.
Remember, a creative and unique composition is what will take the ordinary objects and make them into a drawing that is intersting and intriguing.

Step 4:
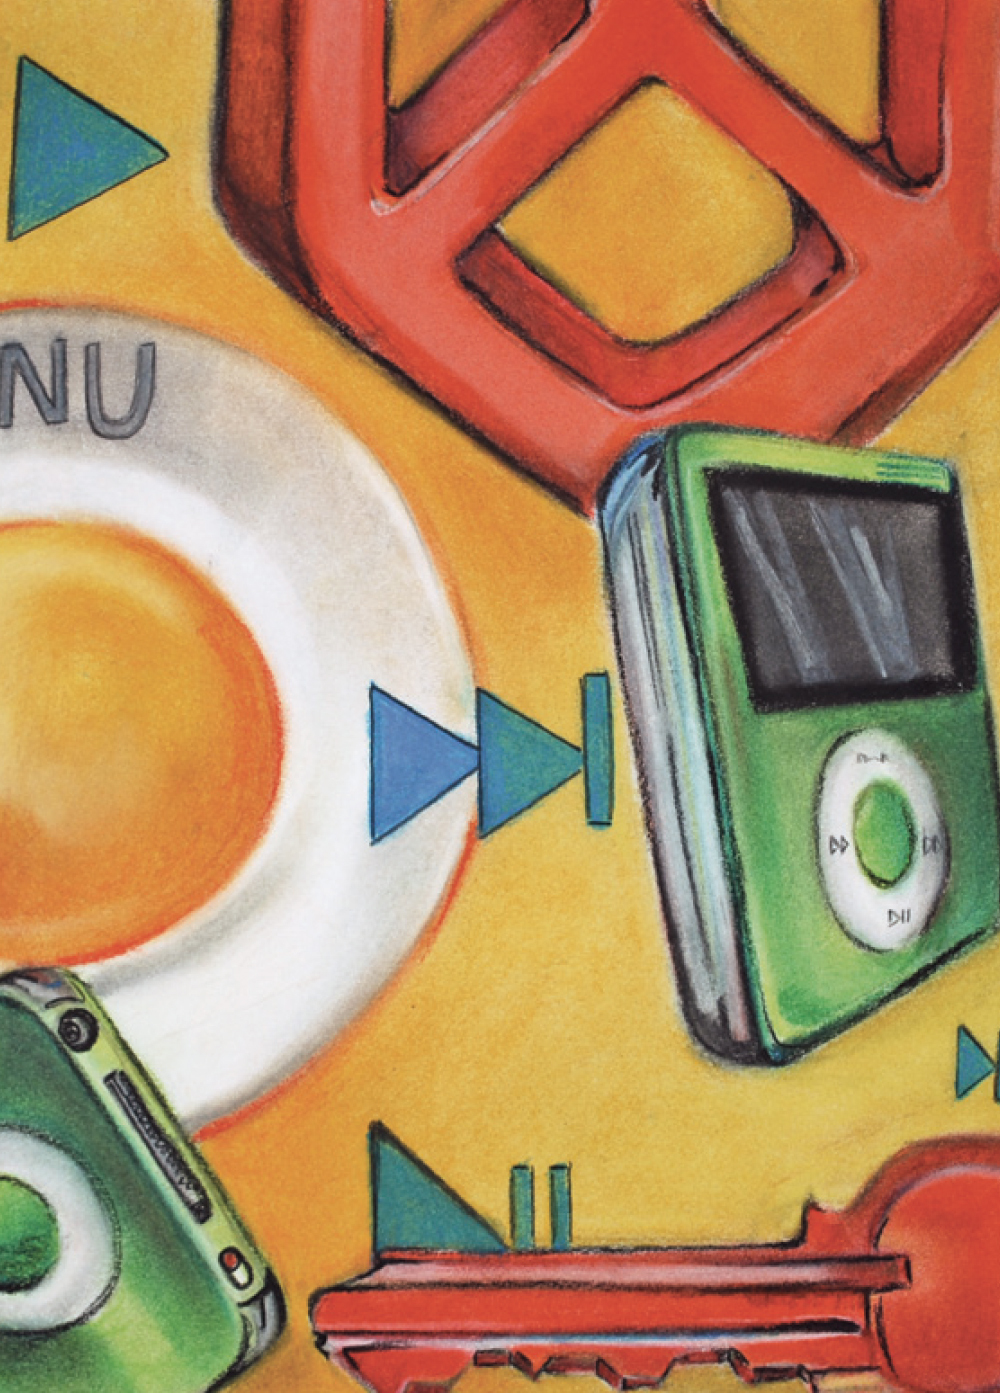
Choose the most successful and dynamic thumbnail sketch to enlarge to a final 18” x 24” colour drawing.
Step 5:
Experiment with colours beyond the local colour used in the initial object drawings. Consider working on coloured paper for the final image if you want the colour of the paper to shine through especially when hatching and cross hatching with the pastel pencils. Use the sides of the colour crayons to cover large areas with colour. The corners of the crayons and pastel pencils are excellent for finer detail work on top.

Tips & Techniques:
- Always work light to dark as it is easier to erase light marks.
- Apply basic drawing techniques for added texture. Use pastel pencils to hatch, cross hatch and stipple.
- Create edges by placing colour against colour and shape against shape, rather than outlining everything. Outlining can have the effect of flattening objects, unless the lines are used with a purpose to create dynamic movement throughout the composition.
- As pastels and crayons are prone to smear, it is highly recommended that a fixative is used to secure the drawing once complete.
