The Light of Your Studio Life
September 23, 2021Setting up proper studio lighting is one of the most important steps you can take as an artist. Lighting influences every colour choice you make throughout your process and will influence the success of your painting and other colour work. These basic lighting tips should provide some insights to help you optimize your setup with studio lighting.

Angle And Location Of Light
Your main light source should be behind you at a 45 degree angle to the painting. This helps spread the light evenly across your painting and prevent glare. If you are not able to move the light source, try moving your easel. You can even tilt your easel downward to help remove any glare. Lamps like the 32 Watt Artist Studio Lamp & Stand, the mountable Techne Artist & Drafting LED Lamp, and the new Aura Ring Lamp from Daylight are easily adjustable for angle and proximity to your work area. If you’re working large, it’s advisable to use a second light source, also angled at 45 degrees from the opposite side, to avoid casting a shadow on one side.
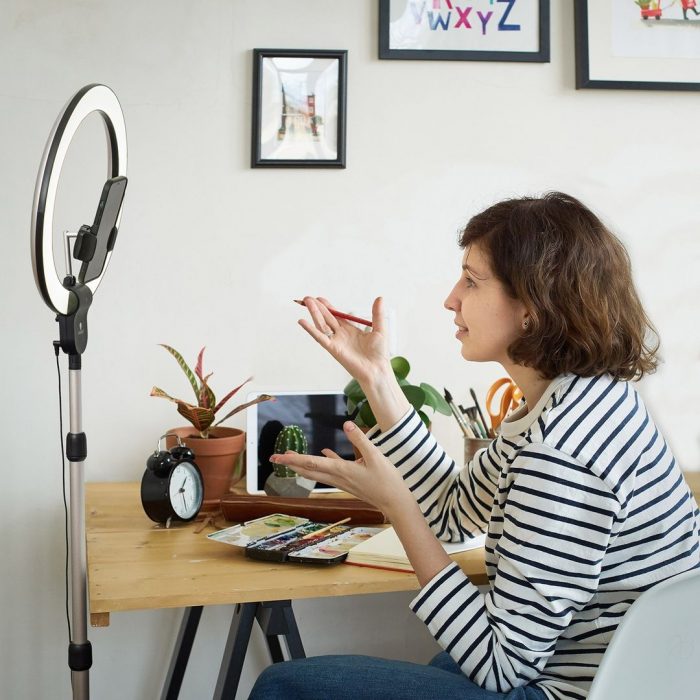
The Aura Ring Lamp has a telescopic pole making it easy to adjust the height between a standing canvas light and a table light, and features a smartphone holder attached in the center of the ring light, making it perfect for artists who are looking for studio lighting that will assist them with photographing or filming their work and/or process for social media – an ideal tool for any social media influencer!
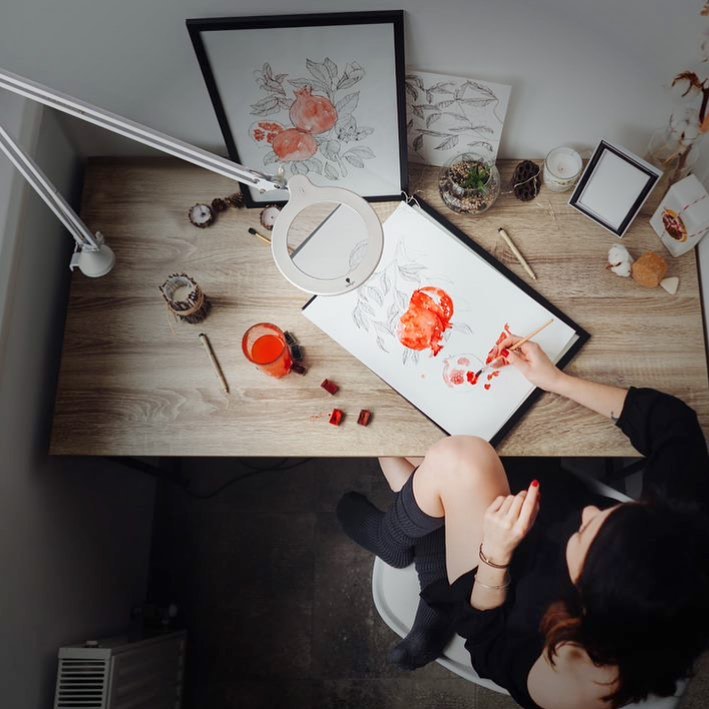
Working with a tabletop light, it’s best to place it on the opposite side of your work from your dominant hand will enable the best visibility as you won’t be working within your own shadow. Whether you’re using it on a table top or clamped to an easel, you will find the Daylight Lumi LED Task Lamp to be a flexible and essential light for your creative workspace. Smaller, more compact and portable lights such as the Daylight Halo Go – LED, Daylight SmartGo Lamp and even the Daylight Yoyo Magnifier Lamp can help brighten smaller spaces when working away from your home or studio.
Another way to brighten your space is to aim your light at a white wall – it will bounce back and offer a more subtle light that isn’t directly pointing at your work.
Improved Visibility
Working small or doing lots of detailed work? Improve your hand-eye coordination, feel less eye strain, and achieve greater accuracy in your fine detail and miniature work by using a lamp with a magnifying glass built into it. The Halo Go – LED, Yoyo Magnifier Lamp, and new Daylight Omega 3.5 Magnifier Lamp all feature built-in magnifying glasses surrounded by a ring of LEDs, lighting your project and enlarging it, too.
Intensity
The intensity (measured in lumens) of your light is critical. 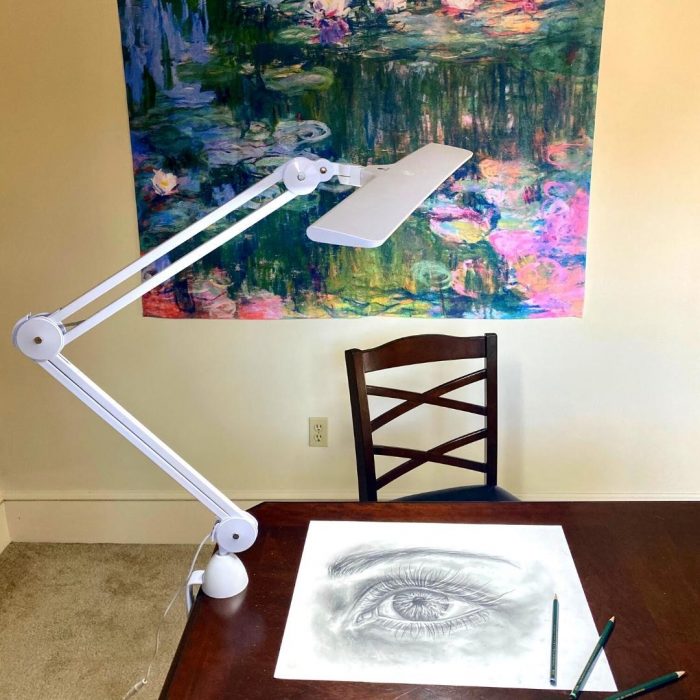 If your light is too bright, you’ll start mixing darker colours resulting in darker paintings. If it is too dark, you may end up with paintings that are washed out and look paler than you’d intended. As you’re setting up your lighting, consider using a value scale to check the intensity of your light. If the white looks light grey, you’ll want to brighten/intensify your lighting. If the black looks washed or greyish, decrease the intensity. You can do this simply by moving your light source closer to the painting area for more intensity, or further away to reduce it.
Colour
Finding a good balance between warm and cool light is essential to being able to create artwork with colours that look “right” for your project. If you work under a light that has a warm cast to it, you’ll create artworks that are cooler and may end up with a blue tone to them. If your light is too cool, you’ll compensate for it the other way and end up with artworks that are too warm.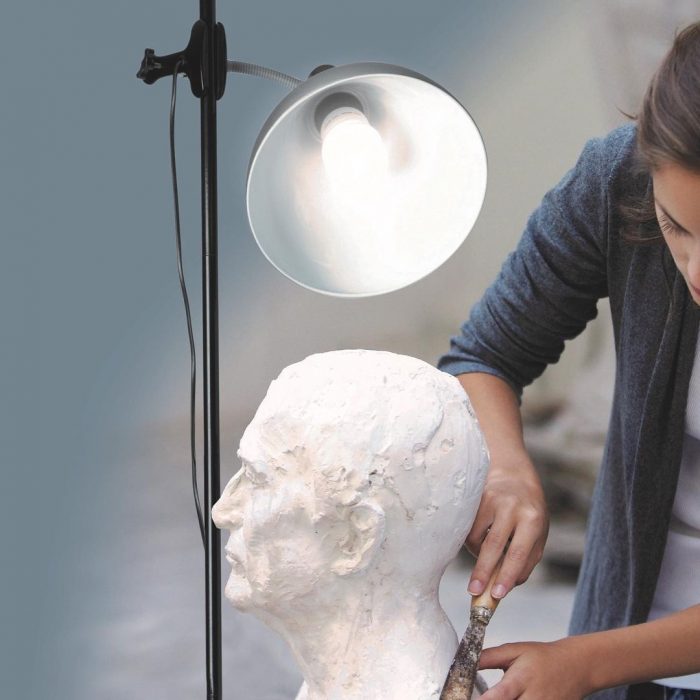
Many LED (Light Emitting Diodes) lights are helpful in achieving the right colour balance as they can be adjusted to warm, cool, or balanced temperatures. These lights also tend to last a lot longer than other types of lights so you won’t have to replace them as often. Most of the lights carried at Opus (mentioned above) feature LEDs.
Carefully thinking about the light situation in your studio and choosing the equipment that best suits your needs will help ensure that your paintings look like you want them to look and that other people can experience them to maximum effect! Our staff will be happy to consult with you about the various studio lighting options to enhance the workability of your creative space and keep you creating throughout the months ahead.